There’s something incredibly satisfying about the aroma of freshly baked bread wafting through your home. Making bread from scratch isn’t just a culinary exercise — it’s an art form that connects you with centuries of tradition. Whether you’re a seasoned baker or a beginner, learning how to make bread at home can be both a creative outlet and a delicious way to enjoy wholesome, homemade goodness. In this comprehensive guide, we’ll walk you through every step of the process, from selecting the right ingredients to mastering the techniques that yield a perfect loaf every time. Discover the joy of baking your own bread and learn how to transform simple pantry staples into a crusty, flavorful masterpiece.

Gather Your Ingredients and Tools
Before you start, it’s essential to have all the necessary ingredients and tools at your disposal. A successful bread-making process begins with quality components. For a basic white bread recipe, you’ll need:
- Flour: Bread flour is preferred for its higher protein content, which gives the dough more structure.
- Water: Use lukewarm water to activate the yeast.
- Yeast: Active dry yeast or instant yeast will help your dough rise.
- Salt: Enhances flavor and strengthens gluten.
- Sugar: Provides a slight sweetness and helps activate the yeast.
- Oil or Butter: Adds tenderness and flavor to the bread.
In addition to these ingredients, gather the following tools:
- Mixing bowl
- Measuring cups and spoons
- A wooden spoon or spatula
- A dough scraper
- A clean surface for kneading (or a stand mixer with a dough hook)
- A clean towel or plastic wrap for proofing
- A baking pan or baking stone
Having everything organized and at hand not only streamlines the process but also makes the experience more enjoyable.
Step 1: Mixing and Kneading the Dough
The foundation of great bread lies in properly mixing and kneading the dough. Start by activating the yeast. If you’re using active dry yeast, dissolve it in a small bowl with warm water (around 110°F) and a pinch of sugar. Allow it to sit for about 5–10 minutes until it becomes frothy. If you’re using instant yeast, you can add it directly to the flour.
Next, combine your dry ingredients — flour, salt, and sugar — in a large mixing bowl. Gradually add the yeast mixture and oil to the flour, stirring with a wooden spoon until a shaggy dough begins to form. Once the ingredients are combined, transfer the dough to a lightly floured surface and begin kneading.
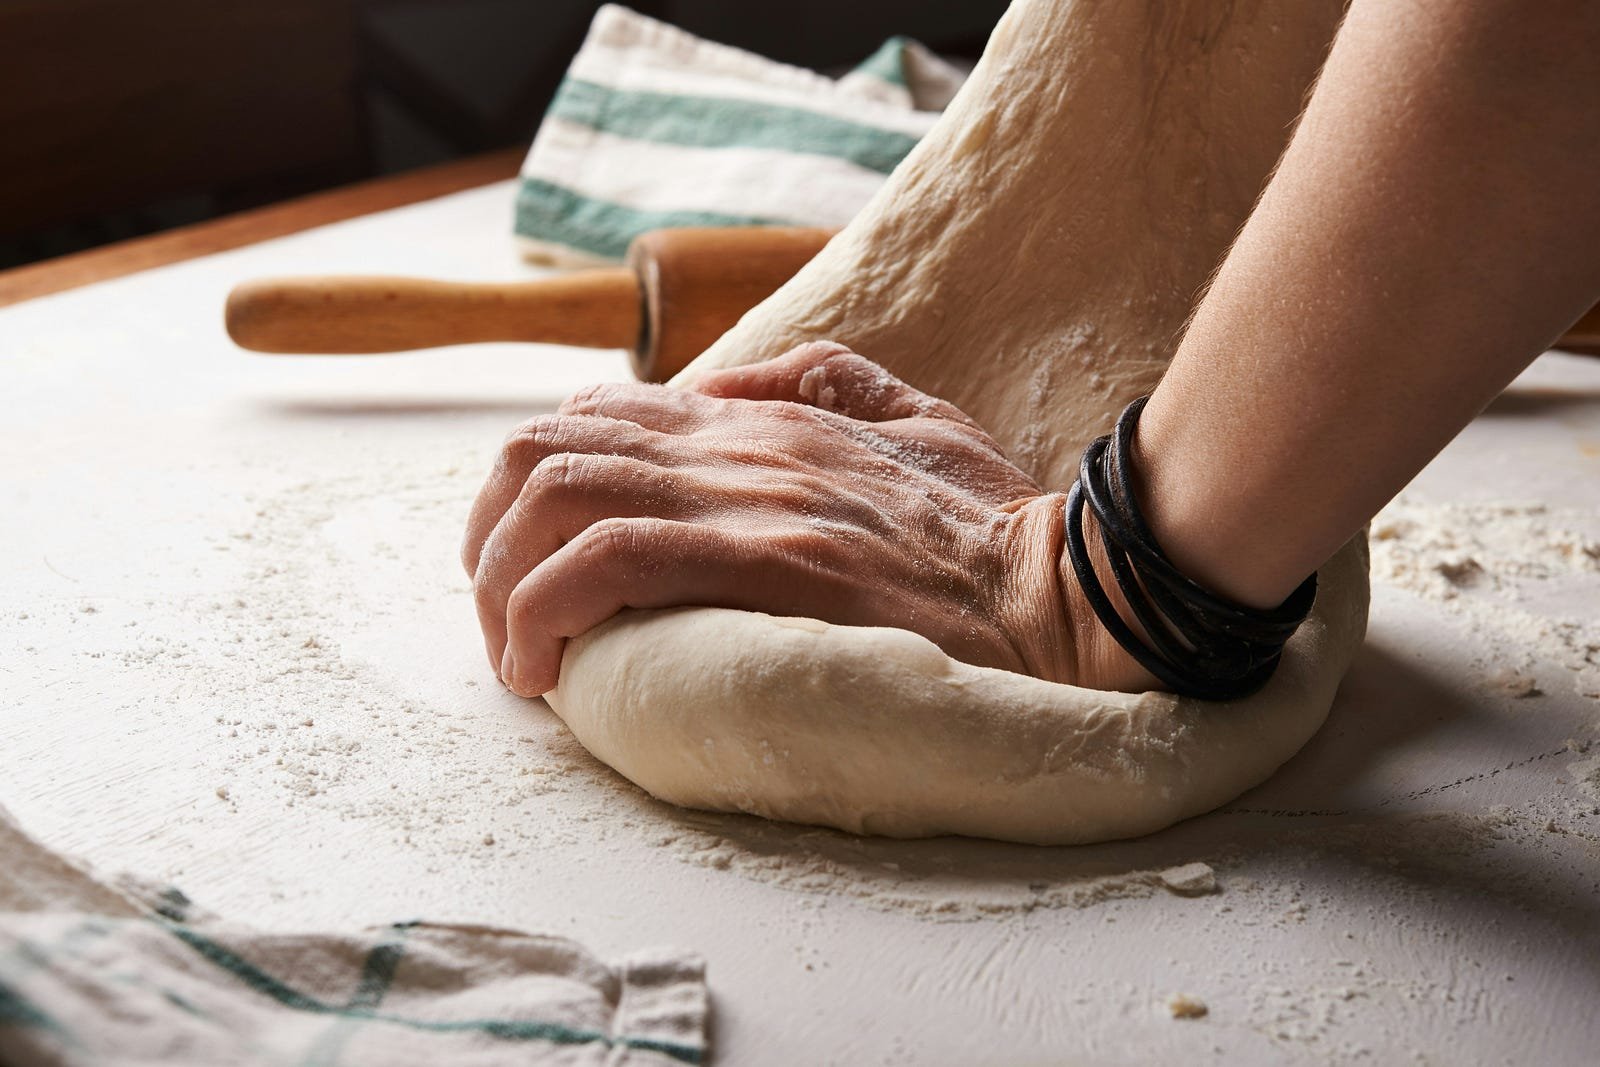
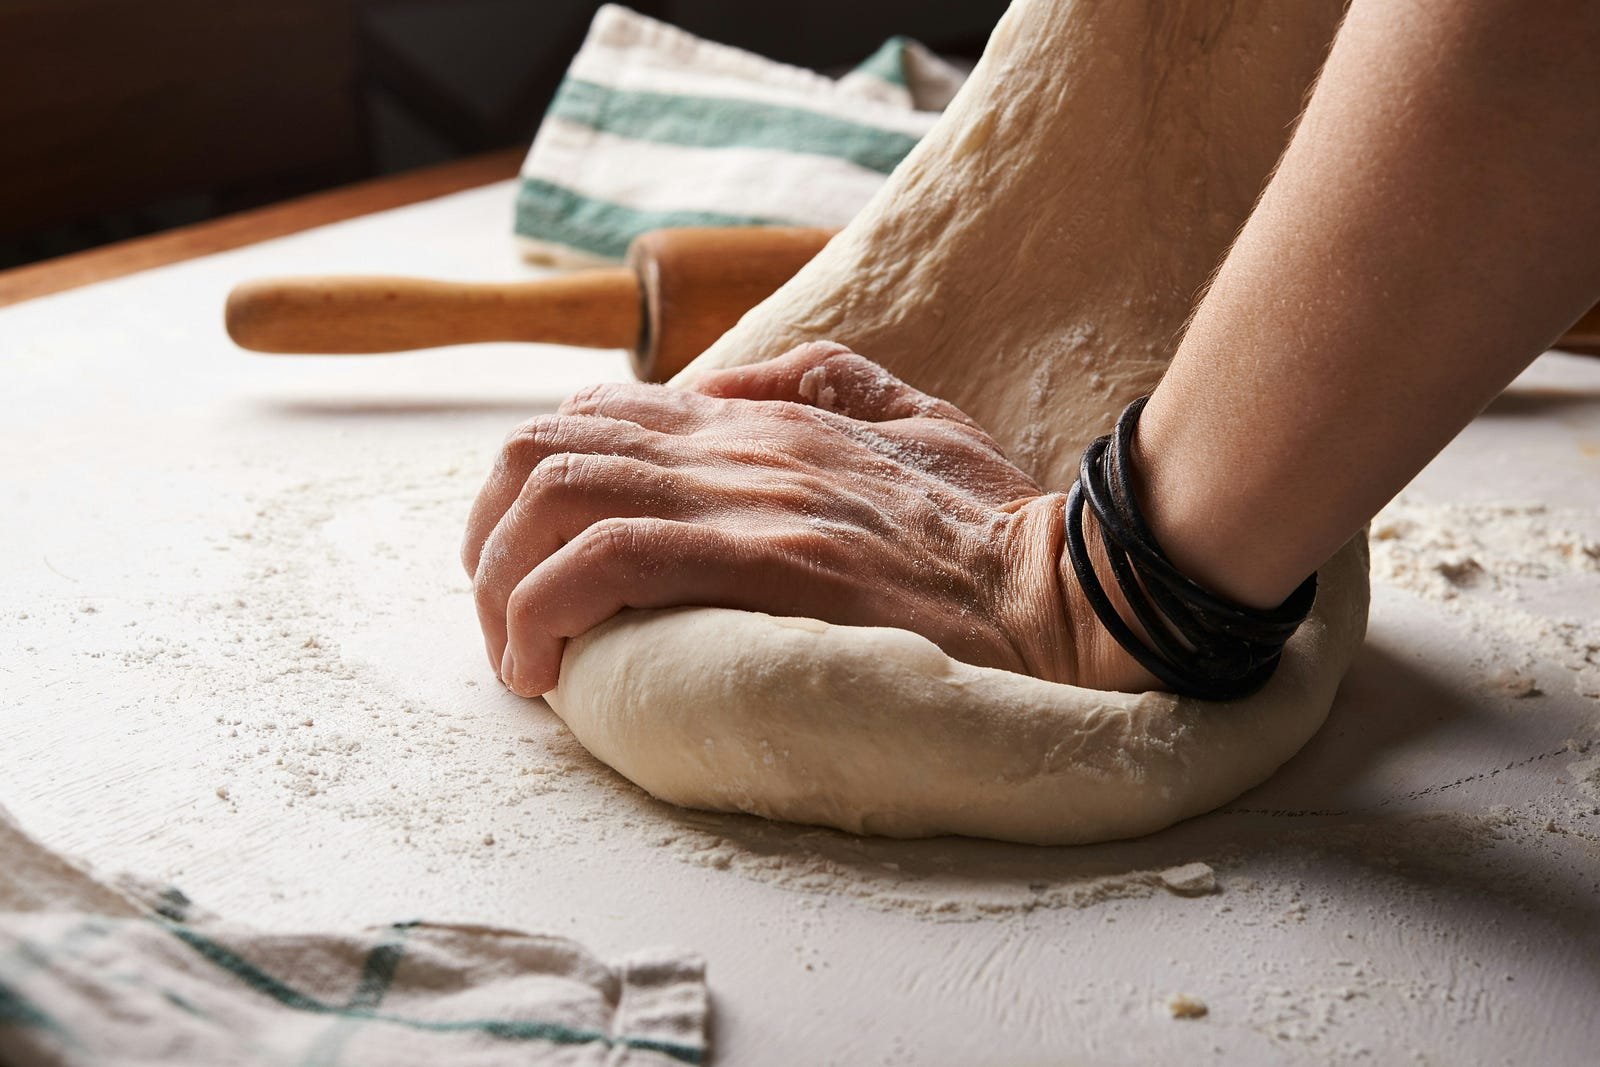
Knead the dough for about 8–10 minutes until it becomes smooth and elastic. This process develops the gluten, which is crucial for giving the bread structure and a chewy texture. If you’re using a stand mixer with a dough hook, knead on low speed for about 6–7 minutes. The dough should be soft yet slightly tacky to the touch; if it’s too sticky, add a little more flour.
Step 2: First Rise (Proofing)
After kneading, shape your dough into a ball and place it in a lightly oiled bowl. Cover the bowl with a clean towel or plastic wrap, and let the dough rise in a warm, draft-free area. This first rise, known as proofing, typically takes about 1 to 1.5 hours or until the dough has doubled in size.
Proofing is a critical step because it allows the yeast to ferment, releasing carbon dioxide that creates air pockets within the dough. This process is what gives bread its light and airy structure. Patience during this stage is key; rushing the rise may result in dense, heavy bread.
Step 3: Shaping and Second Rise
Once your dough has doubled, gently punch it down to release excess air. Transfer the dough to a floured surface and shape it into a loaf or desired form. If you plan to bake a round loaf, form the dough into a tight ball by folding it over itself several times.
Place the shaped dough into a greased baking pan or on a baking stone if you prefer a crustier exterior. Cover the dough again and let it rise for a second time, typically 30–45 minutes. This second rise, or final proofing, helps the dough relax and expand further, ensuring an even crumb structure.
Step 4: Preheating and Baking
While your dough is undergoing its final rise, preheat your oven to 375°F (190°C). Preheating ensures that the oven reaches the right temperature for optimal baking conditions.
Before placing your dough in the oven, make a few shallow slashes on the top with a sharp knife or bread lame. This allows the dough to expand evenly during baking and gives the loaf an attractive appearance. The slashes also help release steam, which contributes to a crisp crust.
Bake the bread for 25–30 minutes, or until the crust turns a deep golden brown and the loaf sounds hollow when tapped on the bottom. Baking times may vary depending on your oven and the size of your loaf, so keep an eye on the bread during the final minutes of baking.
Step 5: Cooling and Enjoying Your Bread
Once the bread is baked, remove it from the oven and transfer it to a cooling rack. Allow the bread to cool completely before slicing. Cooling is an essential step, as it allows the steam inside the loaf to redistribute, resulting in a more uniform texture and flavor. Patience during this stage is key — the temptation to slice the bread while it’s still warm may be hard to resist, but waiting will enhance your overall experience.
Enjoy your homemade bread with your favorite toppings, dips, or simply a pat of butter. There’s nothing quite like the satisfaction of biting into a slice of freshly baked bread that you made from scratch.
Tips and Tricks for Perfect Bread Every Time
Experiment with Ingredients
Once you’ve mastered the basic recipe, don’t be afraid to experiment. Try using different types of flour, such as whole wheat, rye, or spelt, to add variety and nutritional value to your bread. You can also incorporate seeds, nuts, or dried fruits for added texture and flavor.
Monitor the Environment
The success of your bread often depends on the environment in which it’s proofing. In colder climates, your dough may take longer to rise, so consider placing it in a slightly warm oven (turned off) or near a radiator. Conversely, in warmer climates, monitor the dough to prevent it from over‑proofing, which can lead to a sour taste and a dense texture.
Keep a Baking Journal
Documenting your bread‑baking journey can be incredibly valuable. Keep a journal to record the ingredients, techniques, and any adjustments you make with each batch. Over time, you’ll develop a deeper understanding of how different variables affect the final product, leading to continuous improvement and consistency in your baking.
Don’t Be Afraid to Make Mistakes
Every baker has experienced a less-than-perfect loaf. Whether it’s a bread that didn’t rise enough or one that turned out too dense, each mistake is a learning opportunity. Embrace these setbacks as part of your culinary journey. With practice and persistence, you’ll refine your technique and consistently produce bread that meets your expectations.
The Joy of Homemade Bread
The act of baking bread is more than just a culinary task — it’s a creative process that brings a sense of accomplishment and satisfaction. The aroma of freshly baked bread fills your home with warmth and comfort, creating a connection to tradition and the simple joys of life. Making bread from scratch allows you to control the ingredients, ensuring a healthier and more flavorful product compared to store‑bought options.
Furthermore, homemade bread offers the opportunity to share a tangible expression of your love and creativity with family and friends. Whether you’re hosting a dinner, gifting a loaf to a neighbor, or simply enjoying a quiet morning with a cup of coffee, the benefits of homemade bread extend beyond nutrition — they nourish the soul.
Learning how to make bread from scratch at home is a rewarding endeavor that combines art, science, and tradition. By following a structured process — from gathering quality ingredients and kneading the dough to proofing, baking, and cooling — you can create a delicious, wholesome loaf that stands as a testament to your skills and creativity. Beyond the practical benefits of saving money and knowing what goes into your food, baking your own bread offers an unparalleled sense of accomplishment and joy.
As you embark on your bread‑baking journey, remember that every loaf is an opportunity to learn and improve. Experiment with different ingredients, techniques, and flavors to discover what works best for you. With persistence, practice, and a little bit of creativity, you’ll soon master the art of bread making and be able to enjoy fresh, homemade bread on demand.
Whether you’re a novice baker or an experienced chef, the process of creating bread from scratch can be both therapeutic and enriching. It provides a break from the hustle of daily life, allowing you to focus on a timeless craft that has been passed down through generations. So roll up your sleeves, preheat your oven, and embark on a culinary adventure that will leave your home filled with the irresistible aroma of freshly baked bread.
In a world where convenience often trumps tradition, the journey to making bread at home offers a refreshing return to simplicity. It reminds us that some of the best things in life are made with care, patience, and a touch of creativity. Enjoy the process, learn from each batch, and relish every bite of your homemade bread — it’s more than just food; it’s an experience that nourishes both body and soul.


